SELLERS
STEP BY STEP GUIDE FOR SELLERS


The Ultimate Home Seller's Roadmap: Your Step-by-Step Guide to Selling Your Home
Step 1: PREPARE & PLAN (6–8 weeks before listing)
Decide your timeline for listing and your ideal closing/move dates.
Gather important documents: deed, mortgage statements, tax info, recent utility bills, warranties, HOA docs (if applicable).
Consider your net proceeds target — estimate payoff, closing costs, agent commission, and moving costs.
§ Tip: Get an early market snapshot from your agent so you understand local demand, seasonality, and pricing expectations.
Step 2: CHOOSE THE RIGHT AGENT
Interview 2–3 listing agents — ask about local sales, marketing plans, pricing strategy, and communication style.
Request references and examples of recent listings and sold properties in your town.
Sign a listing agreement when you’re comfortable with the agent’s plan and chemistry.
§ Tip: A great agent is an experienced negotiator, marketer, and trusted adviser — not just someone who “lists” houses.
Step 3: PRE-LISTING HOME PREP
Declutter, depersonalize, and remove excess furniture to showcase space.
Complete minor repairs (loose doorknobs, leaky faucets, chipped paint).
Deep clean every room — professional cleaning is often worth the investment.
Consider a home staging consultation (virtual or in-person) to maximize appeal.
Have professional photos scheduled (twilight photos, drone shots, floor plans if helpful).
§ Tip: In NJ markets, curb appeal matters — trim landscaping, clean walkways, and freshen the front door area.
Step 4: PRICE STRATEGY & MARKET POSITIONING
Review a Comparative Market Analysis (CMA) prepared by your agent.
Agree on a competitive list price and potential pricing strategy (e.g., price slightly under to drive multiple offers).
Set showing rules (appointment windows, notice, pets, lockbox vs. agent-escorted).
§ Tip: Price accurately at launch — first 2 weeks are critical. Overpricing can lead to long days on market and lower final sales.
Step 5: LISTING LAUNCH & MARKETING
Approve listing description, professional photos, virtual tour, and any staging images.
Confirm distribution channels: MLS, brokerage websites, social media, email blasts, targeted ads, and local signage.
Ask about open house strategy (broker open, public open house) and private showings.
§ Tip: High-quality photos + targeted online ads = more qualified showings and stronger offers.
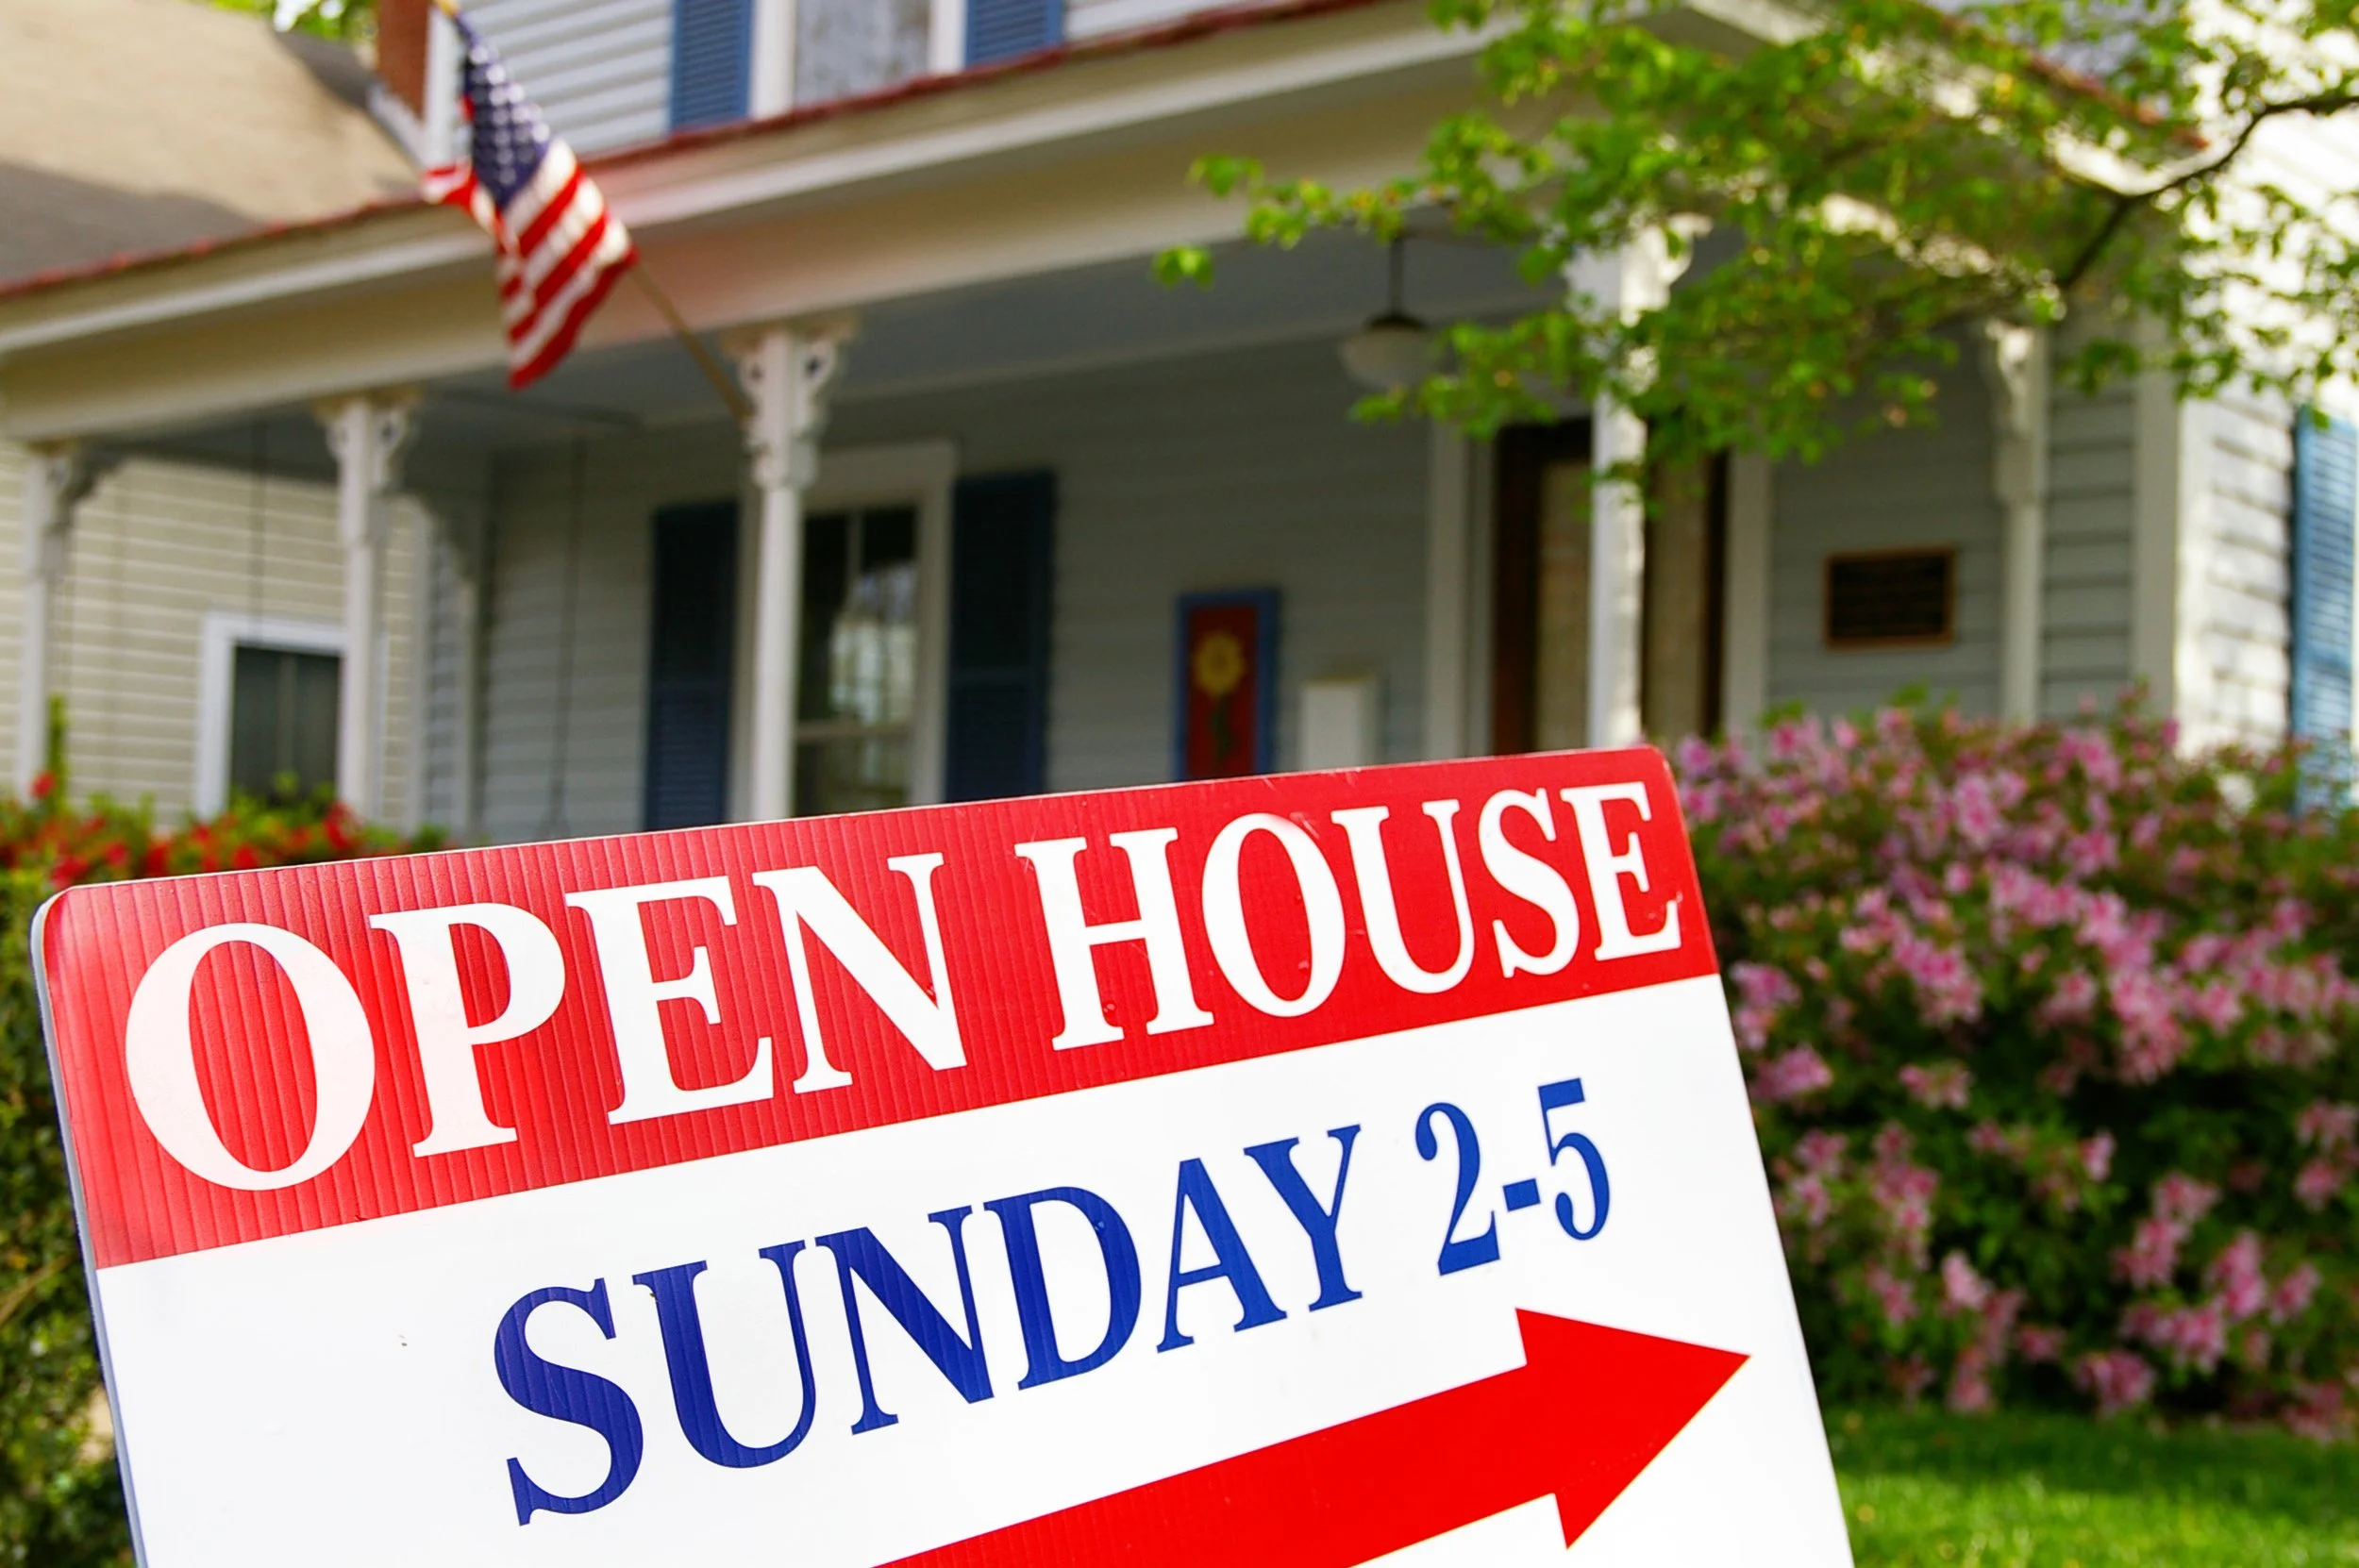
Step 6: SHOWINGS & OPEN HOUSES
Keep home show-ready: tidy, neutral scents, and pet arrangements.
Provide easy access for agents and buyers (clear instructions, lockbox if agreed).
Collect feedback from showings and discuss adjustments with your agent if needed.
§ Tip: Small touches (fresh flowers, warm lighting, neatly folded towels) elevate buyers’ impressions.
Step 7: REVIEW OFFERS & NEGOTIATE
Your agent will present offers and explain terms: price, contingencies, closing date, earnest money.
Consider not only price but financing strength, inspection requests, and timeline.
Negotiate strategically — your agent will recommend responses and counteroffers.
§ Tip: In NJ, a strong buyer with a clean contract and reasonable contingencies often wins over the highest but fragile offer.
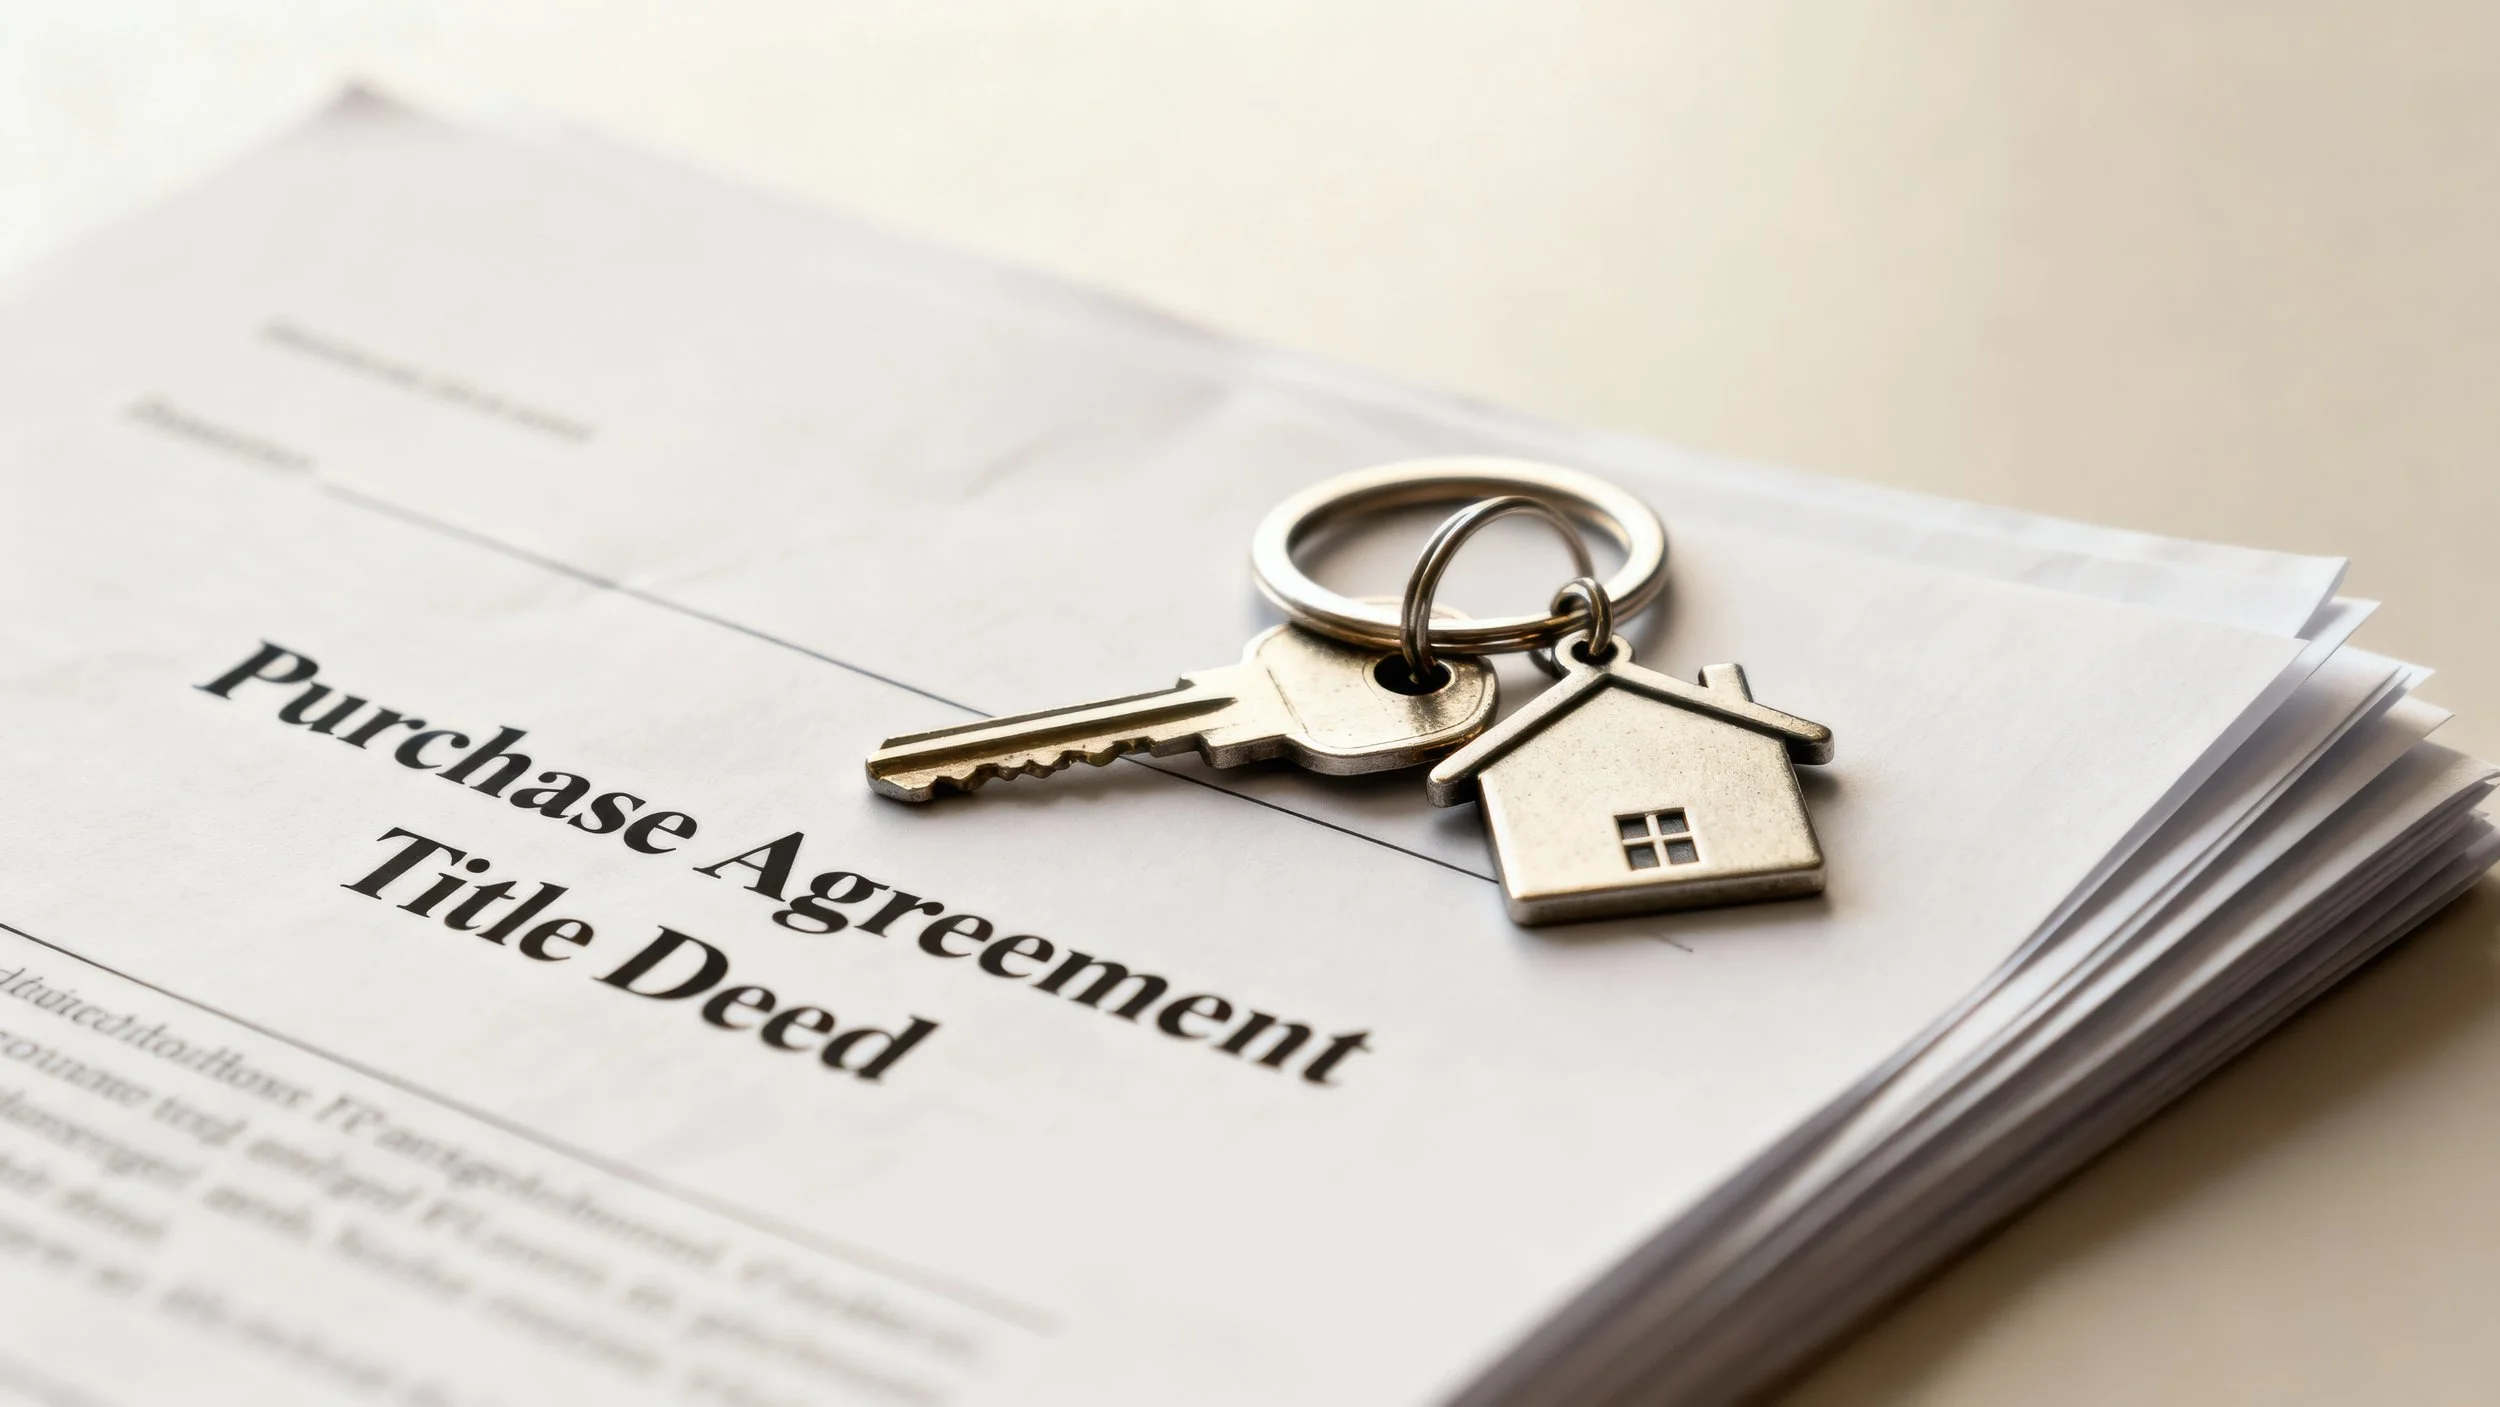
Step 8: ATTORNEY REVIEW (New Jersey custom)
Once an offer is accepted, the NJ attorney review period begins — your attorney reviews and can negotiate contract terms.
Your attorney will help resolve contract language, contingencies, and timeline specifics.
§ Tip: Choose an NJ real estate attorney with a track record of smooth closings and good communication.
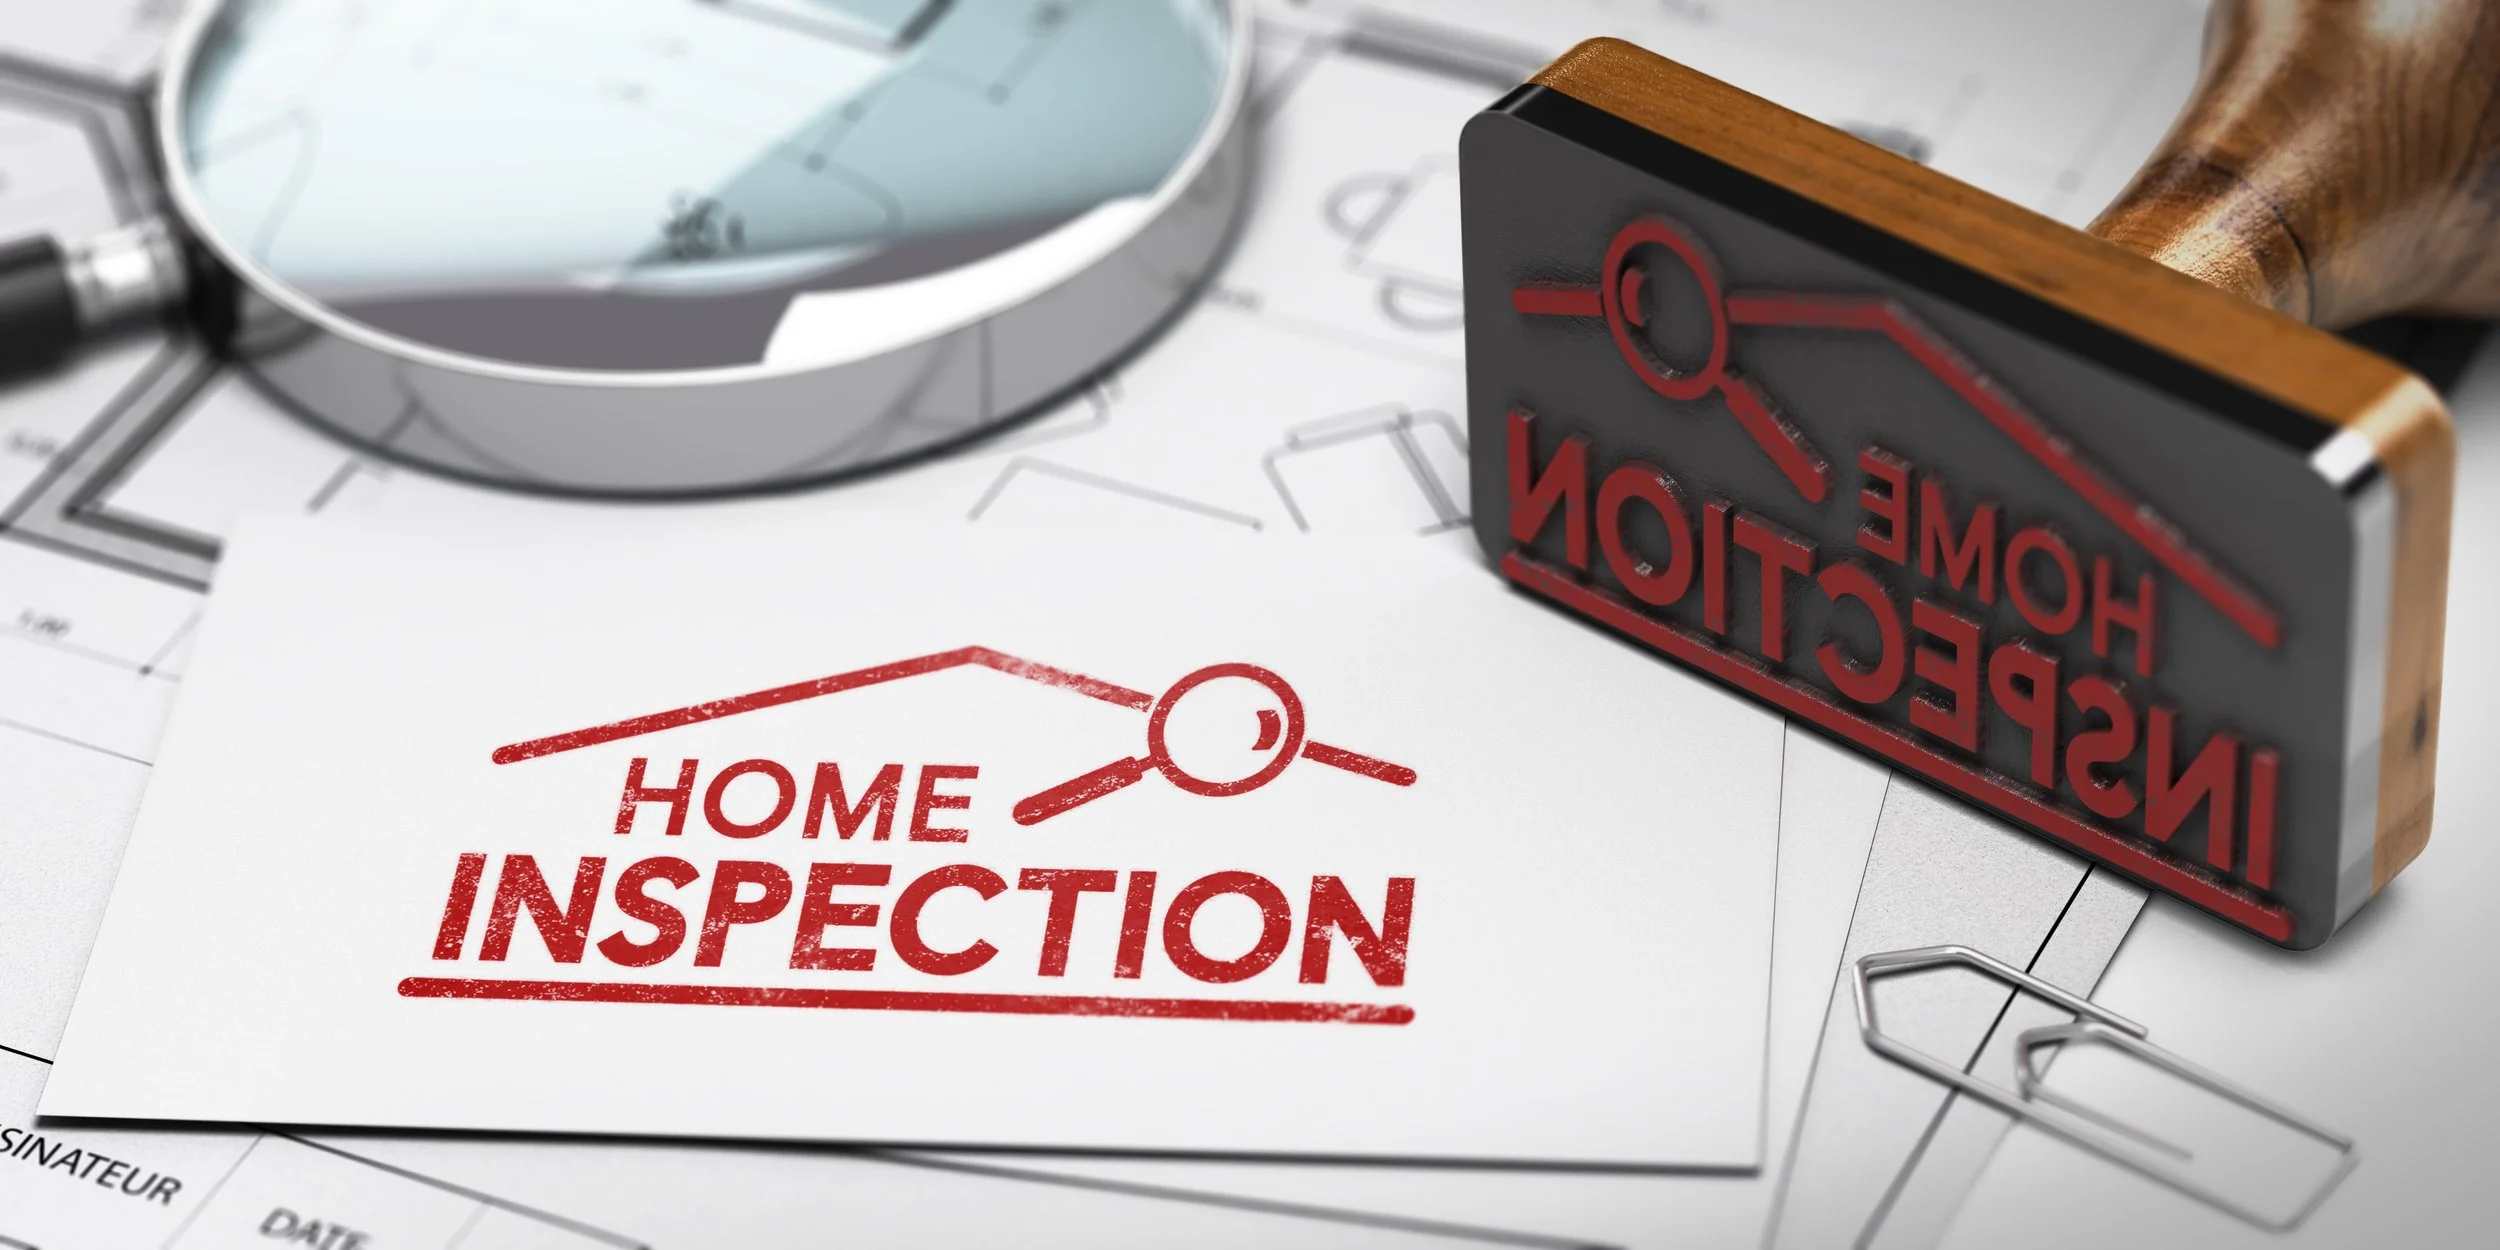
Step 9: INSPECTIONS, REPAIRS & APPRAISAL
Buyer typically orders a home inspection — be prepared to negotiate repairs or offer credits.
If buyer’s appraisal is below contract price, your agent will guide next steps (renegotiate, buyer brings gap funds, or other options).
Maintain clear records of any repairs or upgrades you’ve completed for buyer reassurance.
§ Tip: Pre-listing inspections can reduce surprises and speed up negotiations.
Step 10: TITLE, LENDER & CLEAR-TO-CLOSE
Provide requested documentation to your attorney and buyer’s lender (HOA docs, property info).
Coordinate with title company for payoff figures and title clearing tasks.
Confirm closing date and final walkthrough arrangements.
§ Tip: Ask your agent and attorney for the exact funds owed at closing (to avoid last-minute surprises).
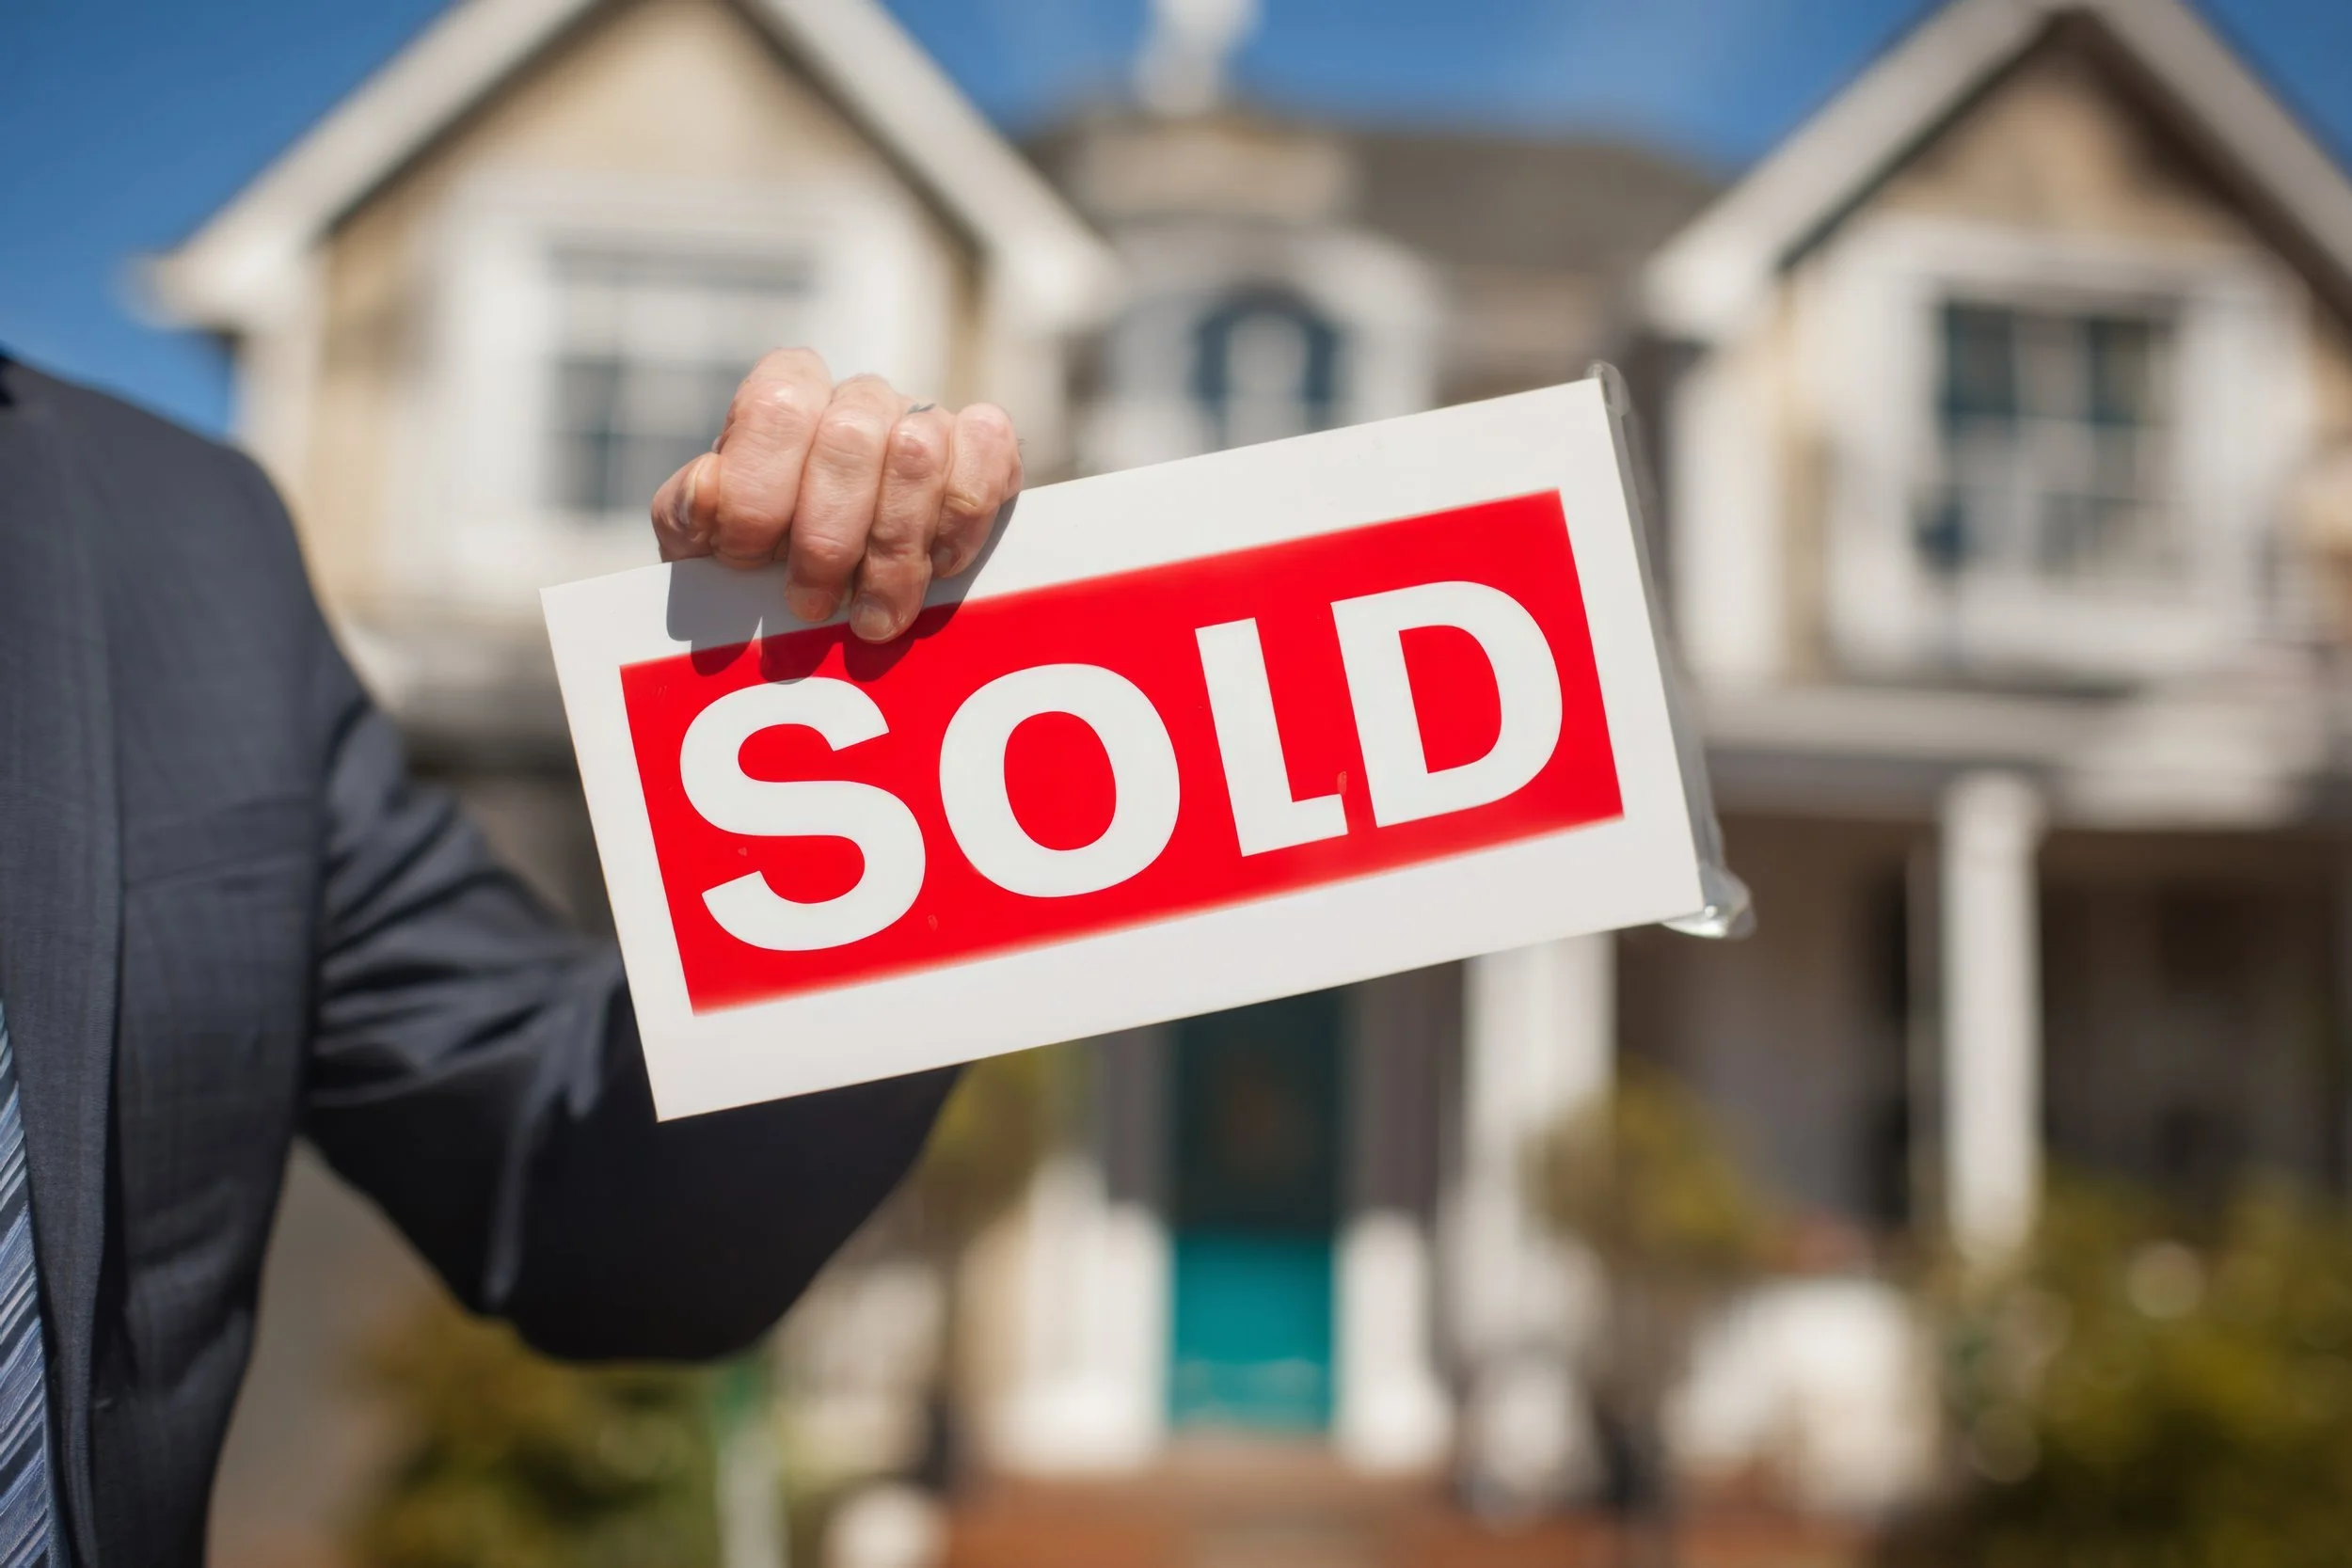
Step 11: FINAL WALK-THROUGH & CLOSING DAY
Conduct a final walkthrough with the buyer — property should be in agreed condition and repairs completed.
On closing day, sign documents arranged by your attorney and title company.
Transfer keys, garage remotes, alarm codes, and any owner manuals or warranties.
Keep closing paperwork in a safe place for taxes and future reference.
§ Tip: Congratulate yourself — selling a home is a major accomplishment!